

March 20, 2026
Night Vision for Wildlife Observation: Complete Guide 2026
Most large mammals conduct the majority of their activity after dark. Deer move at dusk and dawn. Coyotes, foxes, and raccoons are largely nocturnal. Owls, bats, and certain reptiles are almost exclusively night-active. If you observe wildlife in daylight only, you are seeing a fraction of the behavior that actually defines these animals.
Night vision changes that. The right equipment lets you watch a fox family at its den, observe owl hunting runs in a meadow, or track deer movement patterns across a property — all without altering animal behavior with visible light. This guide covers how to do it correctly, which technology suits different observation scenarios, and what equipment works in 2026.
—
Why Nocturnal Wildlife Observation Is Different
Daytime wildlife watching involves light management — staying in shade, avoiding silhouetting, choosing positions that minimize your visible profile. Night observation adds the variables of darkness, thermal conditions, and the challenge of identifying subjects in low-light conditions.
The primary consideration is behavioral impact. Animals that evolved in darkness are sensitive to visible light in different ways than they are to human scent or sound. A flashlight or headlamp will flush most mammals immediately and condition them to avoid an area. Thermal observation requires no visible light. Analog night vision with an infrared illuminator uses near-infrared light that most mammals cannot detect (with some exceptions for certain wavelengths and conditions).
The second consideration is detection range. A skilled wildlife observer with binoculars can detect an animal at 200 yards in reasonable daytime conditions. At night, unaided detection drops to 20–30 yards for stationary animals in dark conditions. Night vision extends usable detection range back to 100–400 yards depending on technology, restoring much of the functional observation window.
For background on how the core technology works, our NVGuide article on how thermal imaging works provides a thorough technical foundation that applies directly to wildlife observation equipment.
—
Thermal vs. Night Vision for Wildlife Observation
This is the first decision most observers face. Both work for wildlife observation; they have different strengths depending on what you are observing and where.
Thermal Imaging
Thermal detects heat emitted by objects rather than reflected light. Warm-blooded mammals and birds show up clearly regardless of ambient light, vegetation density, or atmospheric haze. A deer standing in light brush is immediately visible as a heat signature even when no part of the animal is visually exposed.
Strengths for wildlife observation:
– Detects animals through light vegetation and at the edge of cover
– Identifies mammals and birds at longer range than analog NV
– No light source required — completely passive
– Works in total darkness, fog, light rain
– Identifies animals by heat signature before you can see them visually
Limitations:
– Does not show color or detailed visual texture (fur pattern, eye color, feather detail)
– Cold ambient temperatures reduce contrast between animal and background in some conditions
– High-end thermal required for meaningful identification at 400+ meters
– Cannot photograph animals in natural color for documentation
Analog/Digital Night Vision
Traditional image intensification (Gen 1, Gen 2, Gen 3) and digital night vision amplify available light or use infrared illuminators to see in darkness. The image is rendered in green phosphor or white phosphor, with visible detail including texture, color in digital systems, and fine structure.
Strengths for wildlife observation:
– Shows visual detail: feather patterns, fur texture, eye shine
– Better suited for photography and documentation
– Effective for observing tree-dwelling animals, birds at roost, insect activity
– Lower entry price for basic observation capability
Limitations:
– Requires IR illuminator in total darkness (some animals may detect this)
– Performance degrades in fog, rain, and heavy haze
– Detection range is dependent on illuminator reach
– Trees and dense brush block the view — thermal “sees through” light cover
The practical rule: Use thermal for finding and detecting animals across open to lightly-covered terrain. Use digital NV or image intensification for close observation where visual detail matters — den sites, roost watching, insect observation.
—
Equipment Selection for Wildlife Observers
Handheld Monoculars: The Core Tool
Most wildlife observers start with a handheld monocular. It is versatile — used for scanning, close observation, and identifying animals before committing to a stationary position.
For thermal observation:
A 384×288 sensor monocular provides the detection range needed for field observation at 200–400 yards. Units in the $400–$600 range like the AGM Fuzion series deliver this performance. The 25 Hz refresh rate in budget thermal is not a limitation for slow-moving wildlife observation.
For analog/digital NV:
Entry-level digital monoculars with integrated IR illuminators function at 50–100 yards in total darkness. Performance exceeds thermal for close-range detail work.
Binoculars: For Extended Observation Sessions
Handheld monoculars cause eye fatigue during extended sessions. If you observe wildlife for 30+ minutes at a time, a thermal or digital binocular reduces strain significantly by engaging both eyes.
Thermal binoculars suitable for wildlife observation start around $1,500. Pulsar Merger and AGM Explorator series are purpose-built for two-eye observation and provide meaningful comfort advantage over monoculars during long watches.
Clip-On Adapters for Spotting Scopes
For observers who use traditional optical spotting scopes during the day, clip-on thermal adapters mount in front of the eyepiece and convert the scope to thermal operation. This is cost-effective for observers who do not want a dedicated thermal unit but already own quality optical equipment.
Night Vision Cameras for Stationary Monitoring
For den observation, roost monitoring, or property-wide surveys, trail camera-style thermal or night vision cameras provide documentation without active observer presence. Animals habituate to stationary cameras more readily than to human presence, allowing behavioral observation that active watching prevents.
—
Setting Up for Nocturnal Wildlife Observation
Site Selection
Position matters more at night than during the day because you cannot relocate quickly without risk of flushing animals. Site selection considerations:
Wind direction: Stay downwind of the area you are observing. Scent detection overrides night vision — a deer at 400 yards that smells you will leave before you see it.
Background position: Position yourself with a solid background (tree line, hillside) to break your silhouette. At night, animals may not see your outline, but your thermal signature is visible to other observers’ equipment in a group setting.
Entry and exit routes: Plan movement before arriving. Walking through a field to reach your position will push animals out. Use field edges, tree lines, and terrain features to approach without crossing open ground.
Observation windows: Identify the terrain features — field edges, creek crossings, trail junctions — where animal movement concentrates. Scanning 400 yards of featureless field is less productive than monitoring 80 yards of a gap between two wood lots.
Timing
Nocturnal wildlife activity patterns:
- Deer: Peak movement at last light (30–60 min after sunset) and first light (30–60 min before sunrise). Secondary movement at midnight in low-disturbance areas.
- Coyotes and foxes: True nocturnal activity after full dark. Peak activity 10 PM to 2 AM in undisturbed areas.
- Owls: Great horned owls begin hunting at full dark. Barn owls active throughout the night. Barred owls active at dusk and again before dawn.
- Bats: Active from dusk to dawn. Most species complete their primary hunting bout in the first 2–3 hours of darkness.
- Raccoons, opossums: Activity begins at full dark. Less predictable than ungulates.
The first 90 minutes after full dark and the 60 minutes before first light are the most productive observation windows for mammal activity in most North American habitats.
Minimizing Behavioral Impact
The goal of wildlife observation is observation — not behavioral alteration. Practices that reduce impact:
- No visible light: White flashlights or headlamps immediately disrupt behavior and condition animals to avoid the area. Thermal requires no light. Digital NV users should use 940nm IR only.
- Minimal sound: Normal conversation carries. Movement noise from equipment, clothing, or vegetation breaks behavioral sequences.
- Limited session duration: Repeated pressure at a single location changes animal behavior over time. Rotate observation sites.
- No bait or attractants: Baiting concentrates animals artificially and creates dependency behavior that persists after observation ends.
—
Documenting What You Observe
Thermal monoculars and digital NV units with video recording capability allow behavioral documentation that was previously impossible for amateur observers. Recording a fox hunting run or an owl intercepting prey is achievable with modern equipment at a cost accessible to serious naturalists.
For thermal recording:
Units like the AGM Fuzion or Pulsar Axion series include built-in video recording. Resolution is typically 720p–1080p. Thermal video is monochrome but captures movement and behavior clearly.
For color photography at night:
Digital night vision with white phosphor rendering or full-color digital sensors (some newer units) allows photography with more visual detail than thermal. Gen 3 analog night vision can produce striking images when adapted to camera mounts.
For citizen science:
Wildlife observation documentation contributes to mammal surveys, nocturnal bird monitoring, and predator distribution mapping when submitted to platforms like iNaturalist. Night vision-equipped observers can contribute data that daytime-only methods miss entirely.
—
Common Mistakes in Nocturnal Wildlife Observation
Over-relying on thermal at close range: Thermal loses effectiveness at very close range (under 10 yards) where the entire scene approaches ambient temperature. At den sites or roost trees within 15 yards, a low-light camera or digital NV provides better detail.
Scanning too fast: Thermal monoculars tempt users to sweep rapidly across large areas. A standing deer at 300 yards is a small heat signature. Slow, methodical scanning — grid the field in overlapping sections — finds more animals than rapid sweeps.
Poor battery management: Cold nights kill batteries faster than rated specifications. A unit dying at 11 PM ends your observation session. Carry spare batteries or a power bank.
Misjudging what thermal shows: A bright white blob in thermal white-hot mode is not necessarily a mammal — it could be a warm rock, vehicle exhaust residue on grass, or standing water slightly above ambient temperature. Learn to read thermal imagery before judging detection events.
For a deeper look at how thermal specifications affect real-world performance, the NETD explained guide covers the sensitivity spec that most directly determines how well your thermal unit detects low-contrast animals in marginal conditions.
—
Recommended Starting Setup by Budget
Under $400 — Entry Digital NV:
A basic digital NV monocular with integrated 940nm IR illuminator. Expect 50–80 yard effective observation range in total darkness. Suitable for close-range den observation, backyard wildlife, and learning the fundamentals of night observation.
$500–$700 — Budget Thermal:
AGM Fuzion TM35-384 or similar 384-sensor thermal monocular. Provides detection range and image quality for open-field wildlife observation at 200–400 yards. The realistic entry point for serious field work.
$1,200–$1,800 — Mid-Range Thermal:
Pulsar Axion Key XM30 or AGM Fuzion LRF with rangefinder. Adds image processing quality, better cold-weather performance, and professional software support.
$2,500+ — Professional Observation:
Thermal binoculars (Pulsar Merger, AGM Explorator) or high-resolution monoculars with 640-sensor technology. For naturalists, researchers, or serious property wildlife managers.
—
Frequently Asked Questions
Do animals react to thermal observation equipment?
Thermal equipment emits no visible light and produces no detectable heat signature itself. Animals do not react to being observed through thermal monoculars, making it the most behaviorally neutral form of night observation available.
Can I use night vision to photograph wildlife?
Digital night vision units with internal recording capture behavioral video. Dedicated low-light cameras and Sony sensor cameras with fast lenses are better for still photography. Thermal provides excellent video but monochrome imagery.
What is the best time of year for nocturnal wildlife observation?
Fall and winter when deciduous vegetation is down, providing longer sight lines in forested areas. Summer observation works well in open habitats. Spring den season (April–June) offers behavioral observation of family groups at den sites.
Is it legal to use night vision for wildlife observation (not hunting)?
Passive wildlife observation with night vision is legal in all 50 US states. Hunting regulations that restrict NV apply to take (killing), not observation. Verify local regulations if you plan to observe in designated wildlife refuges with special rules.
How do I prevent disturbing nesting birds when observing at night?
Observe nesting sites at a distance. Do not approach closer than the point where the adult leaves the nest voluntarily. Minimize session duration. Avoid observation during incubation — this is when disturbance is most costly.
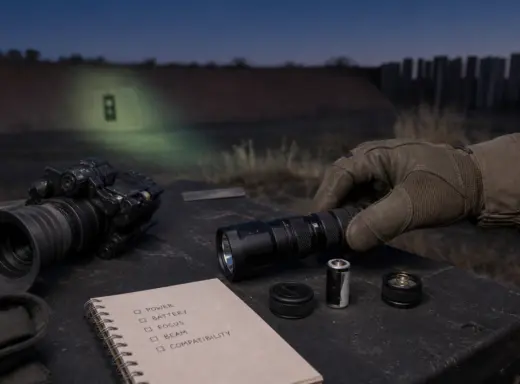
IR Illuminator Not Working With Night Vision? Beam, Battery, Focus and Compatibility Check.
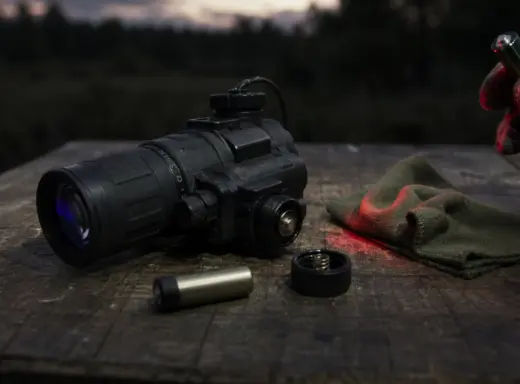
Is your NV not turning on? Battery, Contacts, Mount and Tube-Safe Troubleshooting
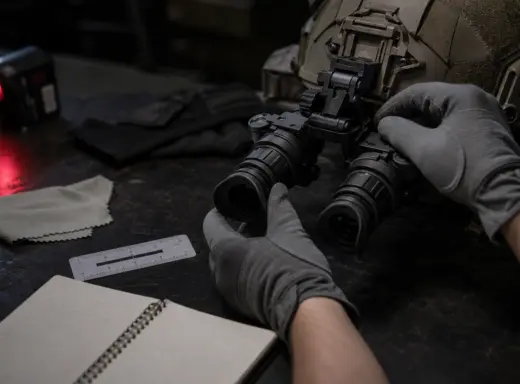
Night Vision Collimation and Alignment: Fix Double Vision, Eye Strain and Dual-Tube Setup Issues