

March 11, 2026
Auto-Gated Tubes: What They Do and Why You Want One
If you’ve spent any time comparing Gen 3 night vision specs, you’ve seen “auto-gated” listed somewhere — sometimes in the features section, sometimes buried in technical notes. Dealers mention it. Reviewers mention it. But the actual explanation of what it does and why it matters tends to stop at “it protects the tube from bright light” without explaining what that means in practice or why it costs extra.
What an image intensifier tube actually does
Before getting into auto-gating, it helps to understand the basic structure of an image intensifier. When you look through a Gen 3 night vision device, light enters through the objective lens and strikes a photocathode — a thin layer of gallium arsenide that converts photons into electrons. Those electrons accelerate through a microchannel plate (MCP), where each electron causes a cascade multiplication, producing thousands more electrons from each original. The amplified electrons strike a phosphor screen, which converts them back to visible light.
The photocathode is sensitive enough to respond to very low light. The problem is that this same sensitivity makes it vulnerable to high-intensity light sources. A bright light directed at the objective sends a flood of electrons through the MCP and into the phosphor screen. Sustained exposure can permanently damage the photocathode surface in that area, leaving dead spots or permanent artifacts in the image.
For a broader understanding of Gen 3 tube construction and how these components affect overall performance, the night vision technology overview explains the full tube architecture.
What auto-gating does at the circuit level
Auto-gating is a circuit that rapidly cycles the voltage across the photocathode on and off when the sensor detects a bright-light event. The cycling happens fast — thousands of times per second. It’s completely invisible to the user. Because the photocathode is seeing rapid short pulses of voltage rather than sustained high voltage, the average power delivered during a bright-light exposure drops dramatically.
The result is that the photocathode surface experiences far less thermal and electrical stress when a bright source enters the field of view. The tube handles the bright-light exposure without the cathode wear or permanent damage that a non-gated tube accumulates over repeated exposures.
This is different from what the device does to the image presentation. When auto-gating engages, the image around the bright source blooms and washes out — that’s unavoidable physics. The difference is that when the bright source moves out of the field of view or dims, an auto-gated tube recovers cleanly to a normal image. A non-gated tube that absorbed the same exposure may have permanently reduced performance in that area of the image.
Auto-gating vs manual gain control
Many users treat these as the same thing. They’re not.
Manual gain adjustment lets you reduce the overall amplification of the tube when the scene is brighter than typical operating conditions. If there’s a full moon and you’re scanning an open field, you can back off the gain to reduce bloom from bright objects and improve overall image quality. This is a user-controlled adjustment you make deliberately when you assess the conditions.
Auto-gating operates automatically at the circuit level and responds in microseconds. You don’t do anything. When the sensor detects a bright source, the gating circuit activates. When the source moves out of the frame, the circuit returns to normal. The response time is in the microsecond range — faster than any manual adjustment a person can make.
In a situation where a light source appears suddenly and unexpectedly, manual gain control is useless because you don’t have time to react. Auto-gating handles it automatically before you’ve processed that it happened.
Real scenarios where this matters
Vehicle headlights are the most common encounter. You’re scanning a brushy area and a truck turns onto a road at the edge of your field of view. The headlights sweep across your frame for two or three seconds. Without auto-gating, this creates blooming and some cumulative stress on the photocathode. With auto-gating, the tube handles it and you’re back to a normal image when the truck passes. Over a season of regular use, that difference accumulates in the long-term performance of the tube.
Operating into first light. If you’re hunting through to dawn, the rising sun will eventually come up near the edge of your field of view. Auto-gated tubes handle this transition much better than non-gated tubes, which require covering the objective until you’re into daylight conditions. On an early fall morning when shooting light arrives before you’re ready to pack up, this matters.
Active IR illuminators from other devices. In a two-person operation where one person is using an IR illuminator, that IR source can appear in your field of view and create a bright spot. Auto-gating handles this without requiring you to manage gain manually every time the other person moves their illuminator.
The comparison to what you get with Gen 2 tubes, which typically lack auto-gating, is covered in the Gen 2 vs Gen 3 guide. Auto-gating is one of several specific reasons the performance gap in real-world conditions is larger than the spec sheet numbers alone suggest.
Gen 3 with vs without auto-gating
Not every Gen 3 tube is auto-gated. Earlier Gen 3 production and some current budget Gen 3 tubes skip the gating circuit. The tube still uses gallium arsenide photocathode material and qualifies as Gen 3 by specification, but the bright-light protection isn’t there.
In steady-state conditions — deep night, overcast sky, no artificial light sources in the area — the image quality difference between a good non-gated Gen 3 and an auto-gated Gen 3 at similar figure-of-merit ratings is small. Both show you a clear image.
The difference appears when scene conditions change. A gated tube adapts in microseconds and protects the cathode. A non-gated tube requires you to anticipate and react, and accumulates wear on exposures you don’t anticipate.
The phosphor type is a separate specification that interacts with tube performance in different ways. The white phosphor vs green phosphor comparison covers that side of the specification alongside the gain and sensitivity numbers that auto-gating affects.
Why cheap tubes skip it
Auto-gating adds manufacturing cost. The circuit requires additional components, tighter production tolerances to ensure the gating circuit responds correctly across the operational temperature range, and testing time to verify performance. These costs are real and they show up in the price of the final unit.
Gen 1 tubes don’t use it — they use a different intensification mechanism that doesn’t have the same photocathode vulnerability. Gen 2 tubes sometimes include a version of it. Budget Gen 3 — tubes that meet the minimum Gen 3 specification but aren’t manufactured to MIL-SPEC tolerances — often drop auto-gating to hit a price point while still being able to call the tube Gen 3.
When you’re comparing two Gen 3 units and one costs significantly less, auto-gating is among the first specifications to check. The tube in a $900 Gen 3 unit and the tube in a $2,800 Gen 3 unit both technically qualify as Gen 3. What you’re actually buying at the higher price includes the gating circuit, tighter tolerances, verified performance documentation, and generally higher figure-of-merit specifications across the board.
Verifying whether a tube is auto-gated
The spec sheet should say “auto-gated” explicitly. “Filming grade” or absence of any mention of gating means assume it’s not gated. If the listing says “Gen 3” without further detail, ask the seller directly and get the answer in writing before purchasing.
Premium tubes from US manufacturers like Elbit Systems of America and L3 Harris ship with individual tube data sheets that specify whether the tube is auto-gated, along with the specific figure-of-merit and other measured parameters for that particular tube. Reputable NV dealers provide these data sheets with tube purchases. If a dealer can’t provide the tube data sheet, that’s information about the dealer.
For context on reading tube specifications before making a buying decision, the night vision beginners guide explains what the Gen classifications mean and how the various tube specifications relate to each other in actual performance.
Operating habits with non-gated tubes
If you’re running a non-auto-gated tube, the habits to build are: cap the objective before swinging toward a known light source, reduce gain manually when you expect bright objects in the scene, and avoid pointing the device directly at anything brighter than a half moon for extended periods.
With an auto-gated tube, these precautions matter less in practice. The tube tolerates the situations that real-world use creates rather than requiring you to manage them continuously. You still don’t look directly at a bare light bulb or point the device at the sun — auto-gating handles transient bright sources, not sustained intense exposure. But the tolerance for the kinds of things that happen when you’re actually hunting is substantially better.
Most users don’t miss auto-gating until they encounter a situation that requires it. A truck coming around a bend at midnight while you’re scanning a field is one of those situations. The difference between handling that cleanly and accumulating tube wear, or worse, temporarily losing your night image at a critical moment, is worth the extra cost in the purchase price.
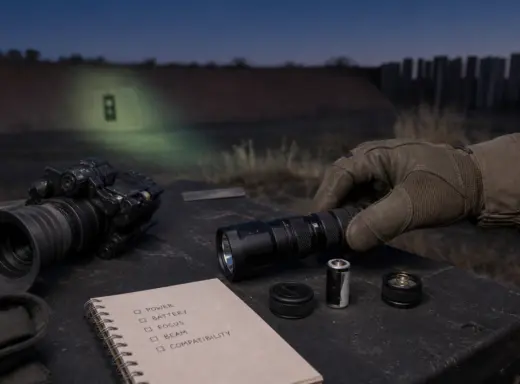
IR Illuminator Not Working With Night Vision? Beam, Battery, Focus and Compatibility Check.

Is your NV not turning on? Battery, Contacts, Mount and Tube-Safe Troubleshooting
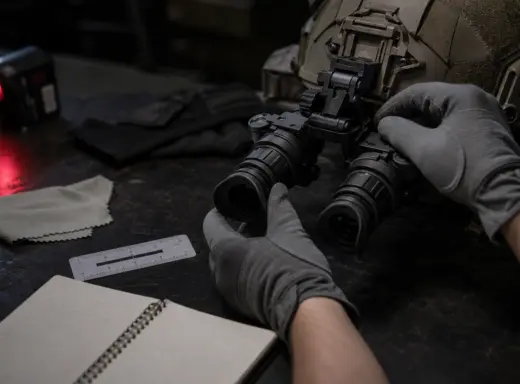
Night Vision Collimation and Alignment: Fix Double Vision, Eye Strain and Dual-Tube Setup Issues